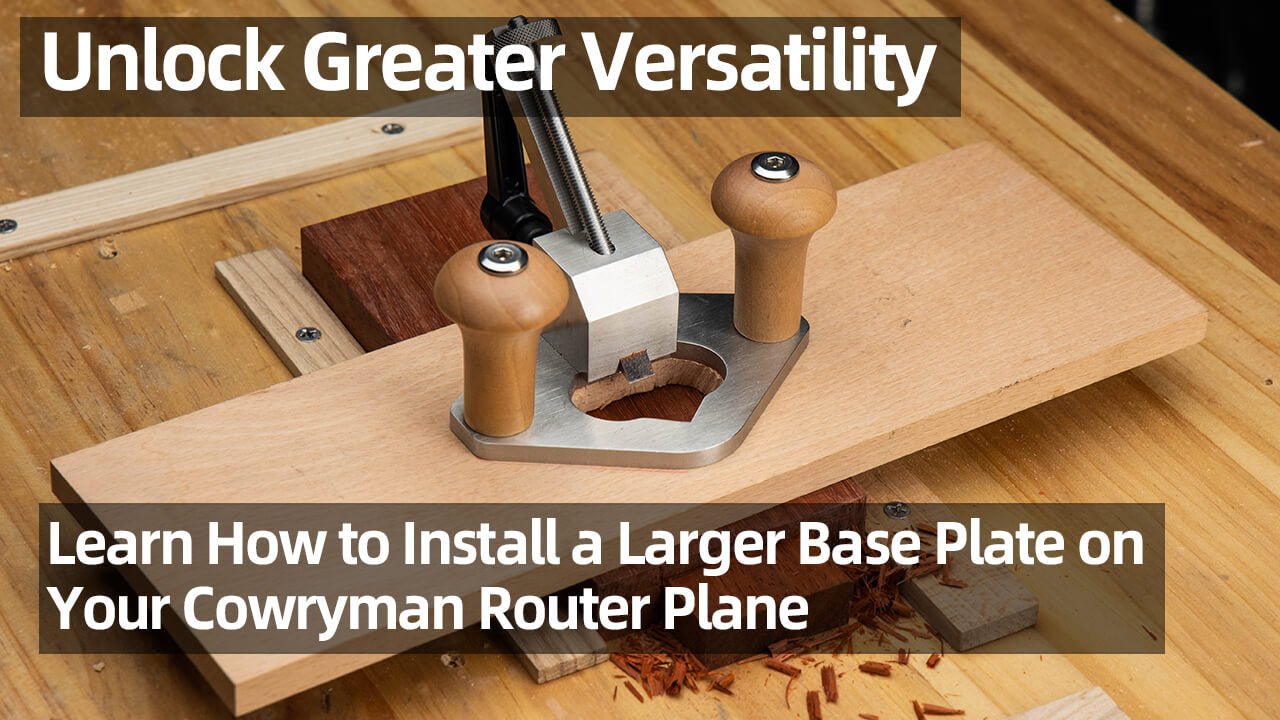
Unlock the Full Potential of Your Router Plane in Just 6 Easy Steps: The Quick & Easy Guide to Installing Larger Base Plates!
Hey folks, it's Lancer here from Cowryman! We've been hearing a lot from you guys about wanting two more holes in the Router Plane for larger base plates. Guess what? We're already one step ahead! Our Router Plane comes with two holes that are just waiting to be used for that bigger base plate you're dreaming of. Just switch out the screws for longer ones, and you're good to go. Stick around, I'm gonna show you how it's done!
Step 1: Prepare a Wooden Board of the Appropriate Size
Before you start, make sure you have a wooden board that fits the bill. This will be your new, bigger base plate.
Step 2: Get Two Extended M6 Countersunk Screws Ready
You'll need these longer screws to secure the new base plate in place.
Step 3: Remove the Original Handle
Take off the handle that came with your Router Plane. Don't worry; you'll put it back on in just a bit.
Step 4: Mark and Drill the Mounting Holes
Draw the spots where you'll drill the holes on your wooden board. Go ahead and drill those mounting holes to perfection.

Step 5: Cut the Center Hole
Time to cut out the middle hole in your new base plate. It's okay if it's a bit larger than the original one; it doesn't have to be an exact match.

Step 6: Attach the Handle with the Extended Screws
Use your new, longer screws to attach the handle back onto the Router Plane.
And there you have it! You're all set to enjoy the extra convenience and versatility that your upgraded Router Plane brings to the table.

